


Overview
This guide introduces the basic usage and essential practical options of the unzip command, frequently used for extracting ZIP archives in Linux environments. Step-by-step instructions cover everything from previewing archive contents and extracting to specific directories to fixing broken character encodings for files created in Windows.
Installing the unzip Package and Preparing a Test Archive
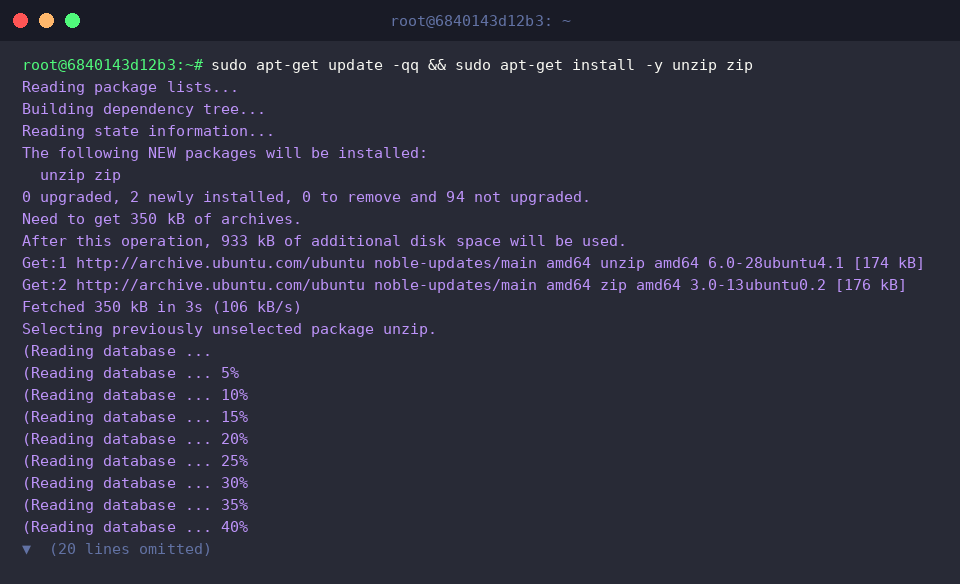
To compress and extract archives in an Ubuntu environment, install the necessary packages using the sudo apt-get update -qq && sudo apt-get install -y unzip zip command.
Create a dedicated practice workspace and navigate into it using the mkdir -p ~/unzip-demo && cd ~/unzip-demo command.

Generate sample text and configuration files for testing with the echo 'Hello Linux' > file1.txt && echo 'Config Content' > config.cfg command.

Bundle the sample files into a single archive by running the zip -r sample.zip file1.txt config.cfg command.

Previewing Contents Without Extracting (unzip -l)
Navigate to the working directory where the test files are located using the cd ~/unzip-demo command.

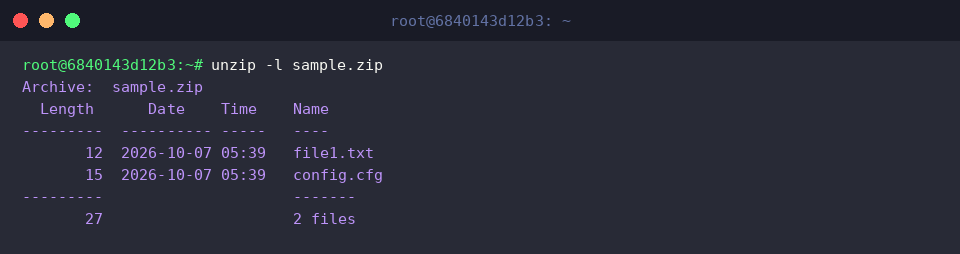
The unzip -l sample.zip command allows you to inspect the list of files, sizes, and modification dates inside the archive without actually decompressing it.
This is particularly useful for safely reviewing the internal structure and estimating disk space requirements before extracting large archives.
Extracting to a Specific Directory and Overwrite Control (unzip -d, -o)
Navigate to the working directory where the archive is located using the cd ~/unzip-demo command.

Create a target destination directory to store the extracted files using the mkdir -p ./extracted command.

The unzip sample.zip -d ./extracted command extracts the contents of the archive file into the ./extracted directory specified by the -d option.
This keeps your current working directory clean and organized by placing files exactly where intended.

The unzip -o sample.zip -d ./extracted command extracts files while forcibly overwriting existing files without prompting for confirmation.
This is commonly used in shell scripts or automated deployment environments to prevent execution hangs caused by interactive overwrite prompts.

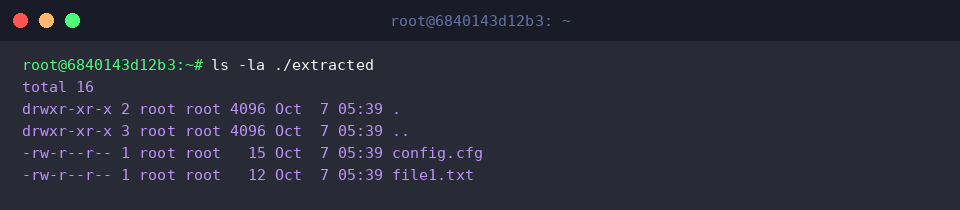
Verify the file list and detailed attributes to confirm that extraction completed successfully using the ls -la ./extracted command.
Extracting Specific Files Selectively
Navigate to the working directory where the archive is located using the cd ~/unzip-demo command.

Create a destination directory to store the selectively extracted files using the mkdir -p ./selective command.

The unzip sample.zip file1.txt -d ./selective command extracts only the specified file1.txt file instead of decompressing the entire archive.
This is extremely useful when you only need to retrieve a specific configuration file or log file from a large archive quickly.

Check the file list and detailed attributes in the destination directory using the ls -la ./selective command to verify that only the targeted file was extracted.

Preventing Broken Korean Filename Encodings from Windows Archives (unzip -O CP949)
Navigate to the working directory containing the archive using the cd ~/unzip-demo command.

Create a destination directory to safely store the extracted files using the mkdir -p ./korean-test command.

The unzip -O CP949 sample.zip -d ./korean-test command specifies CP949 (EUC-KR), the default Windows character encoding, extracting the archive into ./korean-test without filename corruption.
This cleanly resolves the mojibake / broken filename issues that arise from character set differences between Windows and Linux systems.

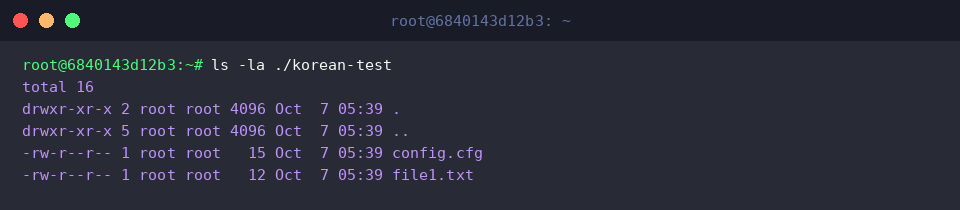
Confirm that the files have been properly extracted in the target directory by running the ls -la ./korean-test command.
We have covered essential tips for the unzip command in Linux, from basic extraction to handling non-UTF-8 encoding issues.
Make good use of these options to efficiently handle archives in the terminal without encoding headaches.