


Overview
SSH (Secure Shell) is an essential standard network protocol for managing remote Linux servers. In this article, we will walk step-by-step through setting up an OpenSSH server on Ubuntu, passwordless public key authentication, SSH port forwarding for practical networking, and essential security hardening tips.
1. Installing OpenSSH Server and Enabling the Service
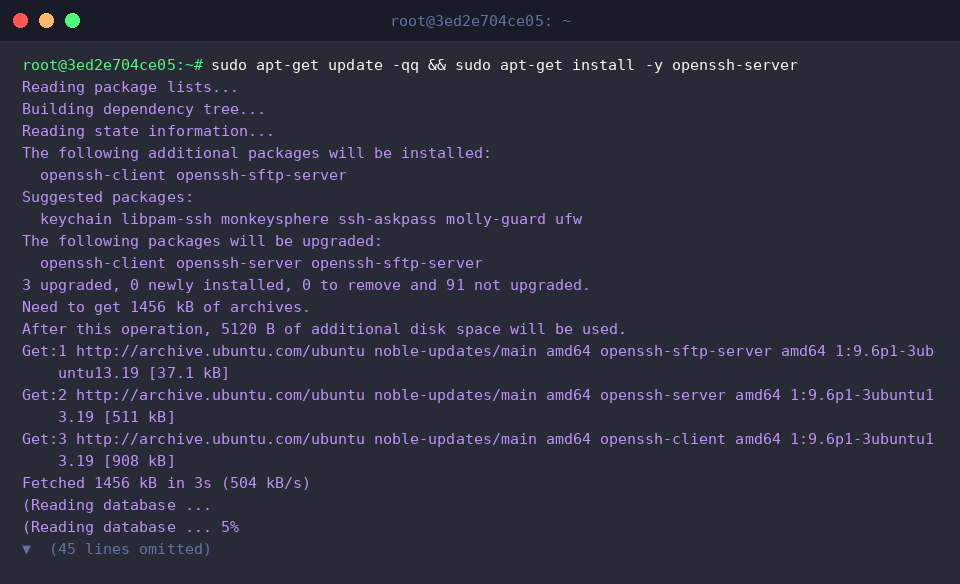
Update the latest package list and install the openssh-server package to provide remote access services on the Ubuntu system.
Run the systemctl enable --now ssh command to enable the installed SSH service to start automatically on boot and launch it immediately.

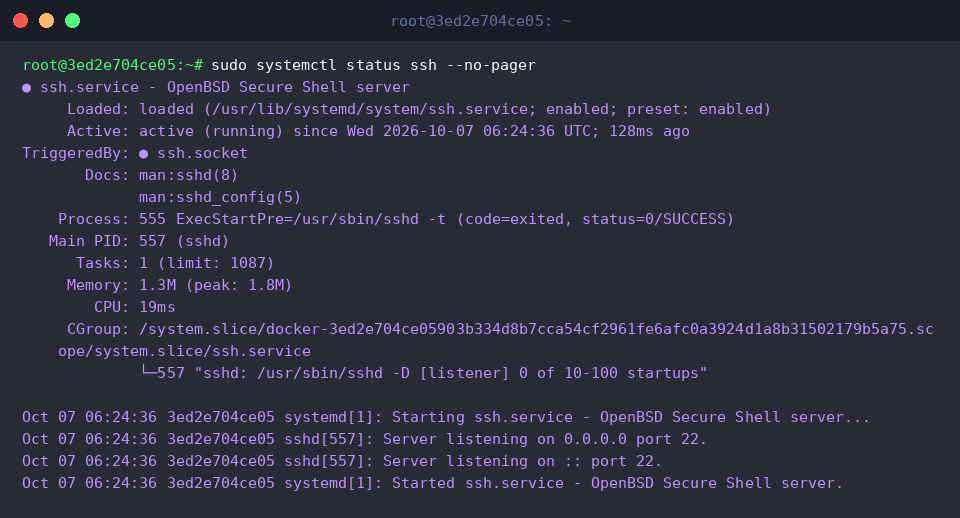
Verify whether the SSH service daemon (sshd) is currently running properly in an active state (active (running)).
Run the ss -tulpn | grep :22 command to verify that it is in the LISTEN state on default port 22, waiting for incoming network connections.

2. Generating and Registering SSH Key Pairs for Passwordless Access
Create the ~/.ssh directory to securely store SSH key files and set its permissions to 700 so only the owner can access it.

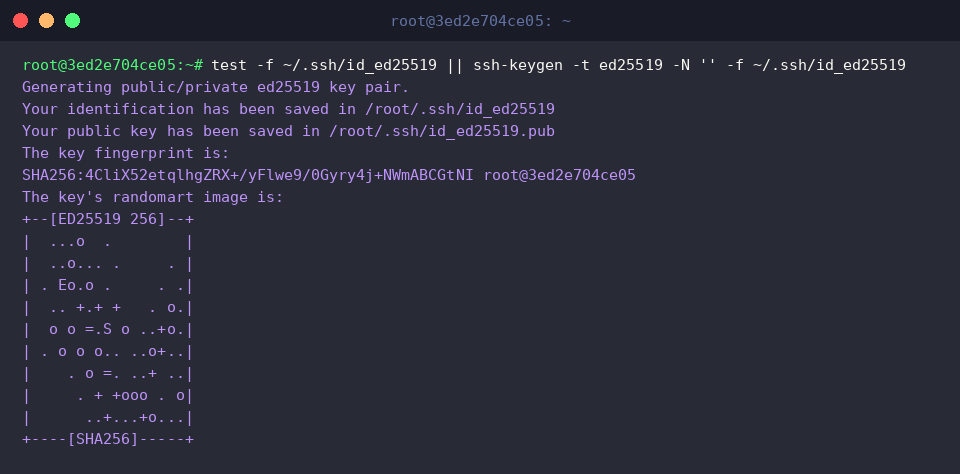
Run the test -f ~/.ssh/id_ed25519 || ssh-keygen -t ed25519 -N '' -f ~/.ssh/id_ed25519 command to generate a new key pair based on the highly secure and efficient Ed25519 algorithm if one does not already exist.
The command output confirms that the private key (id_ed25519) and public key (id_ed25519.pub) were generated successfully.
Append and register the generated public key content to the authorized access list file ~/.ssh/authorized_keys.

Restrict permissions of the authorized_keys file to 600 to maintain the security of the authorized keys list file and pass the SSH daemon’s strict permission checks.

Attempt a connection to the local loopback (127.0.0.1) address by specifying the generated Ed25519 private key to verify that key-based authentication works properly.
The command execution outputs a message confirming a successful local key authentication connection without requiring a password.

3. Practical Network Tunneling: SSH Port Forwarding Practice
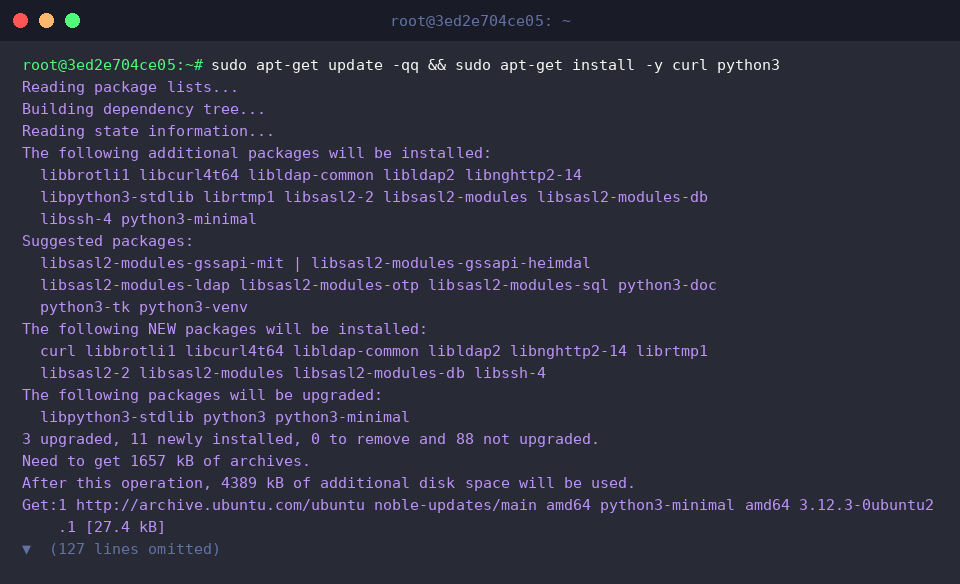
Update the latest package list and install the curl and python3 packages to run a web server and test HTTP requests.
Run the mkdir -p /tmp/webroot && echo '<h1>SSH Tunnel Test OK</h1>' > /tmp/webroot/index.html command to create a web document directory and write a test HTML file for the port forwarding test.

Run the python3 -m http.server 8080 --directory /tmp/webroot >/dev/null 2>&1 & command to run a simple web server in the background on port 8080 acting as an internal service.

Run local port forwarding in the background to forward requests coming into local port 9090 to port 8080 on the target server via the secure SSH tunnel.
After executing the command, the port forwarding tunnel is created securely in the background without occupying the terminal session.

Send an HTTP request to the forwarded local port 9090 through the SSH tunnel to verify that the connection to the internal web server is relayed properly.
The command output displays <h1>SSH Tunnel Test OK</h1>, the response from the internal port 8080 web server, confirming that port forwarding works perfectly.

Run the pkill -f 'http.server 8080' command after completing the port forwarding test to safely terminate the test web server process running in the background.

4. Practical SSH Server Security Hardening (sshd_config)
Backup the configuration file using the sudo cp /etc/ssh/sshd_config /etc/ssh/sshd_config.bak command to prepare for unexpected issues during configuration changes and preserve original settings.

Modify the setting by executing the sudo sed -i 's/^#*PermitRootLogin.*/PermitRootLogin no/' /etc/ssh/sshd_config command to completely disable direct remote login for the root account for enhanced security.

Run the sudo sshd -t command to safely validate in advance that there are no syntax errors or typos in the modified SSH server configuration file.
No error messages are output after executing the command, confirming that there are no syntax issues with the configuration.

Run the grep -E '^(PermitRootLogin|PasswordAuthentication)' /etc/ssh/sshd_config || echo '설정 검증 완료' command to verify that the root login disabling option (PermitRootLogin no) has been correctly applied to the configuration file.
The command output successfully finds PermitRootLogin no, confirming that the security configuration was fully applied.

So far, we have covered the key practical essentials in an Ubuntu environment, from basic SSH connections to port forwarding and crucial security configurations.
We encourage you to apply these security practices step-by-step to build a more secure and efficient server management environment.